
Contents
- Why You Should Start Vlogging?
- Step By Step Guide On How To Start A Vlog
- STEP #1: Select Your Niche
- STEP #2: Choose Your Audience
- STEP #3: Starting With A Good Vlogging Camera (DSLR or Smartphones)
- STEP #4: Create Your YouTube channel
- STEP #5: Shoot Your First Vlog
- STEP #6: Edit Your Recorded Vlog (Make It More Compelling)
- STEP #7:: Upload Your First Vlog On YouTube
- STEP #8: Share Your Vlog On Social Media Channels
- STEP #9: Monetize Your YouTube Channel and Earn!
- Steps To Monetize Your YouTube Channel:
- Final Verdict:
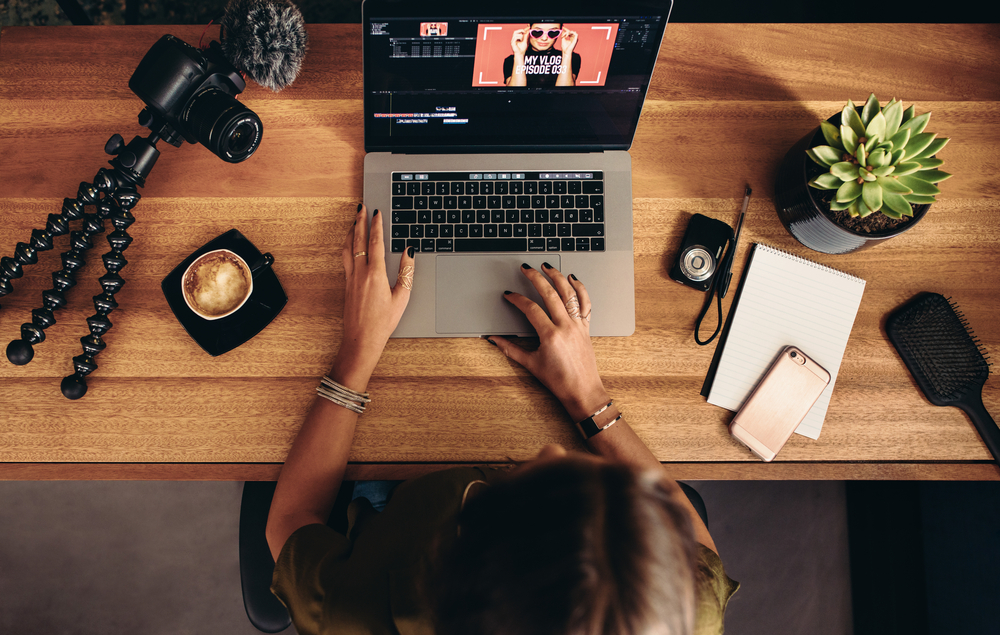
Nowadays we can see that videos are everywhere on the Internet and it’s considered as one of the best types of content. As of now many of us prefer video content rather than any other form of content. Why, do you have any guess? Yes because we tend to learn more from videos rather than text.
And no doubt, videos are one of the attention-grabbing medium that you can use for creating your online content. You might have seen a number of viral videos overtime and you can find many videos on the internet that have engaged people and gets millions of hits within an hour or so.
Vlog and Vlogging is one of the most popular trends today. We can see many people all around the world who are coming up with new vlogs every day on many random topics like- A Day In A Life, Travel Vlogs, Fitness Vlog and many more.
Most probably you might be thinking, “What Is A Vlog”
In simple words, the person who creates these videos are basically known as vloggers and the process and the art of creating these videos or vlogs are generally known as Vlogging.

So why not it’s you who use this golden opportunity to create videos and engage more audience in order to grow a healthy community on platforms like YouTube. But before getting started with it you should know why you should start vlogging.
Why You Should Start Vlogging?
If you’re looking to boost your social media presence or build a healthy online community, videos are the medium that can grab people’s attention easily.
It doesn’t matter if you’re running a business or just looking grow a healthy online community, vlogging is one of the best ways to promote yourself, your products and your services in an super easy way with even putting extra efforts.
You can just vlog about anything and trust me there is no perfect or predefined way to do it. There’s no need to be perfect right when you upload your first video, just make sure you have great content as we all know that “Content Is King”.
And if you’re one them who wants to be successful vlogger then you’re at right place.
In this post, we are going to feature a simple guide on- How To Start A VLog Easily. So, let’s started here.
Step By Step Guide On How To Start A Vlog
STEP #1: Select Your Niche
Right before creating a YouTube channel, you must select the niche you want to go for.
If you really want your YouTube channel to be successful, it is important to make clear from the beginning what your channel is about. And what type of content you’re going to come up with.
The niche you are targeting is the basis of a YouTube business. In order to provide the right video content for your audience, you should first know who your audience actually is. The videos that you upload everyday must have a purpose and an intention.
But before choosing any niche just make sure you also love the process of making video and vlogs. It’s really important to love what you do and in this way, you will not get bored at some point in your vlogging journey.
Some of the best niche that you can get started right away- gaming, makeup, food vlogs, unboxing, yoga, travel, fitness, lifestyle, software, digital marketing, music, and more counting.
Just make sure you choose the right niche that you love making vlogs for. Don’t end up choosing the wrong category, just do some research and choose your niche wisely.
STEP #2: Choose Your Audience
If you have a successful video blog, it will definitely be a powerful marketing tool. With Vlog, you can create a digital marketing revolution. But you have to choose the audience group like whom you’re targeting the country, boys, men or old persons.
This is the most important factor. Your video blog should always adapt to the style and taste of your audience. Make sure you use the images, the words, the styles and the recording techniques that your audience loves to watch. You can target a specific country and people based on their needs and also their interests as well.
STEP #3: Starting With A Good Vlogging Camera (DSLR or Smartphones)
You can simply get started with any device that can record a video properly and initially if you’re just getting started with go with your smartphone’s camera. Even you can use your tablet, iPad or webcam from your laptop to record a vlog or video.
However, we recommend starting with a good camera because many creators offering crisp video quality and offer videos in 4K. The better quality you provide the users are likely to subscribe more frequently.
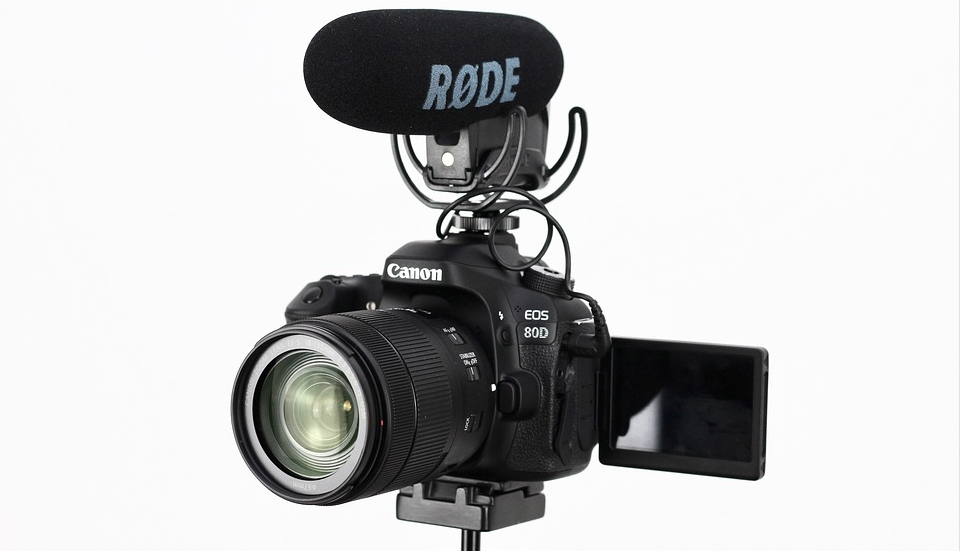
You’re audience never want to watch videos of bad quality and even you don’t even like it. If you somehow buy a good vlogging camera, you will get high definition video quality and good audio quality as well.
The best part about cameras as they have an integrated image stabilization system that optimizes the quality of vlogs. To find the perfect vlogging camera for your needs and budget, you can just google it and find the best camera according to your needs and requirements.
If you have found the perfect vlogging camera, we will also suggest you to consider buying a microphone, editing software, laptop, tripod or lighting. And initially, we recommend you to get started with your smartphone camera and once you start your journey then purchase a professional camera later on.
STEP #4: Create Your YouTube channel
As of now, you have a good video camera, you need a place where you can post your videos. YouTube is currently the most popular site for vloggers. We recommend that you create an account there. The best part about YouTube is that you can even monetize your channel as well. So let’s start creating your YouTube channel.

Creating a YouTube channel is very different from what it was years ago, mainly because it is now integrated with your Google account and Google+. If you do not have a Google account yet, you can register here and simply create your Google+ profile here.
Once configured, you can create your YouTube channel here.
Now it’s time to customize your channel.
Right when you create your YouTube channel, you can simply upload some information from your Google+ profile to your YouTube channel, like your name and profile picture too.
And the best is that you can also customize additional features, like the about section, your channel cover photo, links to other social profiles or websites, channel suggestions, the featured channels and even more.
STEP #5: Shoot Your First Vlog
Well, now you have a camera to record a vlog and a YouTube channel to simply upload your vlog to get views. Now it’s the perfect time to start vlogging.
If you do not know what vlog is, you can just film what you do every day, record your hobbies, plan what you want, take on challenges or any topic vlogs of your niche and go get record it.
For making your first video you may get nervous but don’t worry it’s normal just try to get with the flow and wrap up everything in a good swing.
We have actually some tips to get started with your first vlog:
- Feel Relaxed: Don’t get stresses before recording your first vlog, it’s natural to have some fear. Just start recording and say what you think. Being spontaneous is good for vlogging.
- Good lighting and audio quality: You need to simply choose the right vlogging camera and microphone. Even you can use your phone to record vlog. Just make sure you speak clearly and do not leave much silence in your vlog. Make it compelling and more interesting for your visitor.
- Interact with your audience: Vlogging is excellent because it can connect to a more personal level and really help you in building a healthy family. Make sure you always get in touch with your viewers, ask for their opinions and just make sure you respond to all the comments that you get on your videos.
- Wrap Up Everything In A Good Swing: Using this way you can customize your videos, and also we can see many successful vloggers have their own set that ends the vlog. Just wrap up everything in a very good gesture.
STEP #6: Edit Your Recorded Vlog (Make It More Compelling)
In order to make your vlog more professional, you just need to edit your recorded vlog and delete everything you do not want to see in the vlog. Like here you can remove some part of the vlog, the unwanted noise, and more things.
You can do your basic editing simply by using the free video editors in the market. And in the beginning, you need not get started with the paid software. There is a lot of free (and paid) tools like Fillmora, Blender, and Lightworks.
If you do have a Windows computer or pc then you can just use Windows Live Movie Maker. If you have Macbook then you can just use the iMovie to edit your videos.
The best part is that you can also use YouTube video tutorials to learn the video editing process. You can find thousands of video tutorials from all over the world.
STEP #7:: Upload Your First Vlog On YouTube
Right once you finished up recording and editing your vlog, you need to upload it right on YouTube. In order to upload your vlog, you need to just go on YouTube platform and simply click on the “Upload” button in the upper right corner. From there, the platform itself guide you further.
Keep one thing in mind while uploading you vlog you need to choose a eye-catching and a good title for your vlog. And just don’t forget to enter the description and tags so that more people can find the vlog easily and you can more views and exposure as well.
As of now, your vlog is on YouTube, you should promote it so that more people see your videos and you can get more exposure. And one of the best ways to do it is to use the trending social media channels like Facebook, Twitter, and LinkedIn.
It’s important to share your vlogs on Facebook, Twitter, Tumblr or any other social network where you are actually active. Also, get in touch with other people and always respond to their comments in order to grow a healthy community.
STEP #9: Monetize Your YouTube Channel and Earn!
Now you can easily monetize your YouTube channel. We’ll explain how the monetization program works and how to set up your account in order to earn revenue from your YouTube videos.
YouTube generally places ads on your uploaded videos. Right once you approve AdSense and monetize your YouTube channel, then your videos are ready to generate revenue. In order to simply earn revenue from these ads, you need to apply for AdSense with your YouTube account.
Steps To Monetize Your YouTube Channel:
- In the very first step, you need to sign in to your YouTube channel account.
- Right On the Channel Configuration tab, just select the “Enable Monetization”.
- Now here you need to follow some of the basic steps to simply accept the YouTube Monetization agreement.
- Right on the upload tab, you will get a green box right with a dollar sign next to the videos, that are actually available for monetization. And here the videos that have some kind of copyright issues then those videos will not be monetized and it will be listed under the “Copyright Notices Tab”.
Now here in the final step, you need to just associate an AdSense account right with your YouTube channel. Creating a new AdSense account is free and you can easily create that here. Here you will need PayPal or bank account and valid email address in order to verify your account. And once you account is approves AdSense will send you an email when your account is approved.
Final Verdict:
In the beginning, your vlog might not get have thousands of views but do not let that stop you. Growing a healthy community and fanbase needs time, good content and a lot of efforts form your side.
As your vlog gets more visits, you also get negative comments. Don’t react to them and also we would like to suggest you, enjoy the process of making vlogs and in this way, you will never get disappointed.
Try to do some collab videos with influencers in your niche. So that your Youtube channel will grow much faster.
We at BloggDesk tried our best to help you start your vlogging journey. Feel free to share some of the trending YouTube niches, and we’ll make sure to add it on the list.
And if you liked this guide, you can also share our post on one of your Favourite social media channels like Facebook, Twitter, and LinkedIn.
Related Articles :
Embed a Facebook Video on Your Website
How To Get More Subscribers on YouTube