
Contents
WordPress SEO by Yoast is one of the most used and trusted SEO plugin ever. There are many reasons for its success but one main part would be, it will help you create search engine friendly content. Which will lead your website to get more visibility in search engine and get you more visitors.
SEO by Yoast is a simple tool to use, however, setting up the Yoast SEO is not that easy. If you are a new blogger or was using some other SEO, then you might need some help to set up the Yoast in a perfect way. Configuration and setting it up is important as if you won’t be careful, your website might stop indexing in google or many other problem might occurs than it will defeat the whole purpose of using Yoast SEO.
How To Set Up Yoast WordPress SEO Plugin
Before we set up the Yoast SEO, we need to know how it helps us without a website. Here are few features of the SEO by Yoast.
- Advance permalink control.
- Breadcrumbs support.
- RSS feed footer plugin settings.
- Import settings from other SEO plugins.
- Verify sites on Google, Bing
- Title meta settings.
- Hide RSD, WLW, short links from the head.
- Meta-control for taxonomies, author pages, homepage, etc.
- Supports Facebook Open Graph.
- Generate sitemap.
- Edit .htaccess files.
- Hide date from search engine snippets.
- Add Google authorship for a single
There is more feature that we could mention in one post and to use this, you need to set up the Yoast SEO.
Step by Step Guide To Set Up Yoast SEO
First of all you need to download the Yoast SEO from the wordpress.org and install it on your WordPress website.
Once you install the Yoast SEO then you need to Dashboard > Features > Advances setting and enable it.
After that, if you were using any other SEO before than you need to go to SEO > Tools> Import & Export > Import from other SEO plugins, you also need to take back up first.
Now we are going to explain the setting by Yoast SEO every single menu page, so you can use it while configuring your Yoast SEO.
WordPress Yoast SEO Dashboard
First of all, you need to submit your site to all search engine and Alexa. To do that, you need to go to SEO > Dashboard > Webmaster Tools. You can submit your site from there and now your website will be listed on Google, Bing, and Alexa. It will help you get on the search engine as first you need to be listed on the search engine.
Titles & Meta Settings
This one is one of the most important parts of Yoast plugin, we are going to explain every submenu one by one. First, you need to open General, you will need to select from which Icon you need to separate your title. Then you go to the next menu which is Homepage. You need to write your title name and meta disruption there.
Then you need to go to the Post Type from where you will be doing all the SEO for your post. Here you need to write title and meta description. You can also do a checkbox for index and follow and hide the date snippet. The date won’t be shown if you check the box, it will help to create a post which you don’t need to update or it would be an evergreen content.
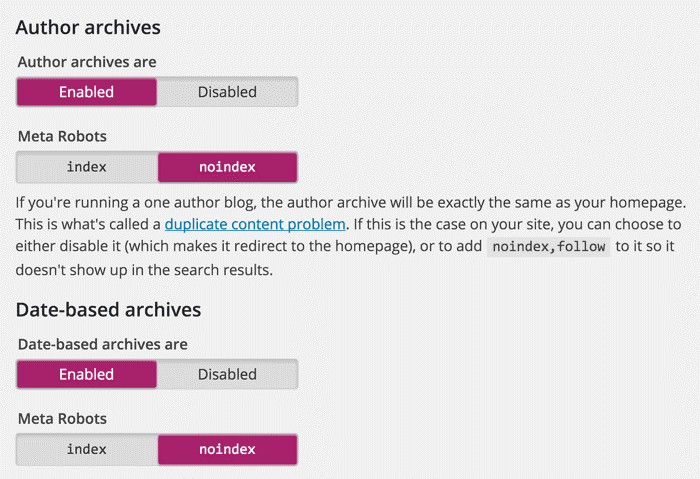
Taxonomies and Archives
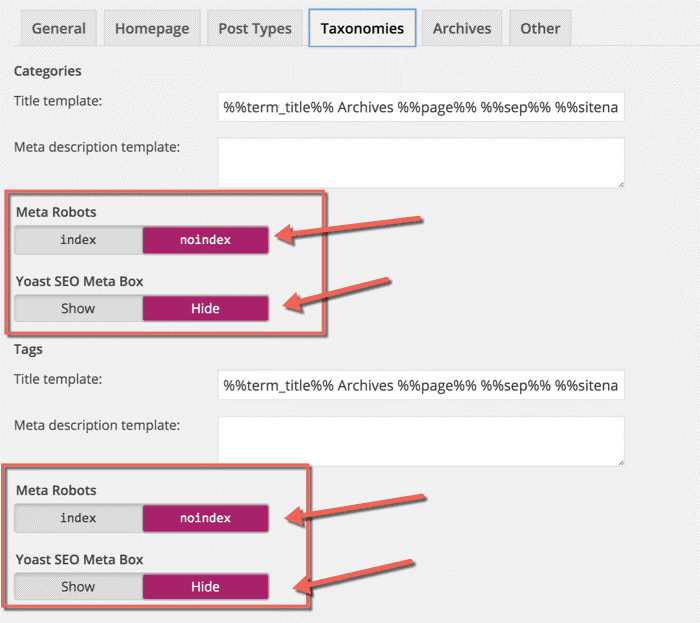
You can choose your preferred order in it which suffice your need.
You can also set your preference on archives as well which are shown in the pictures.
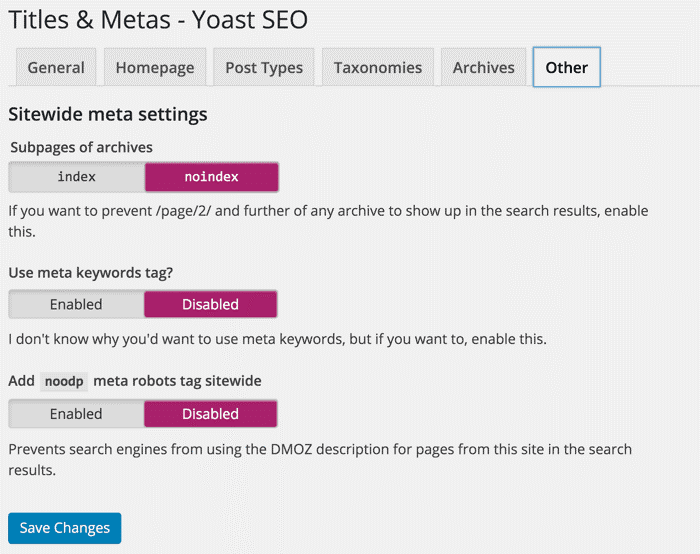
Other
You can ignore the meta keyword as Google has already mentioned that you won’t be interested in meta keywords.
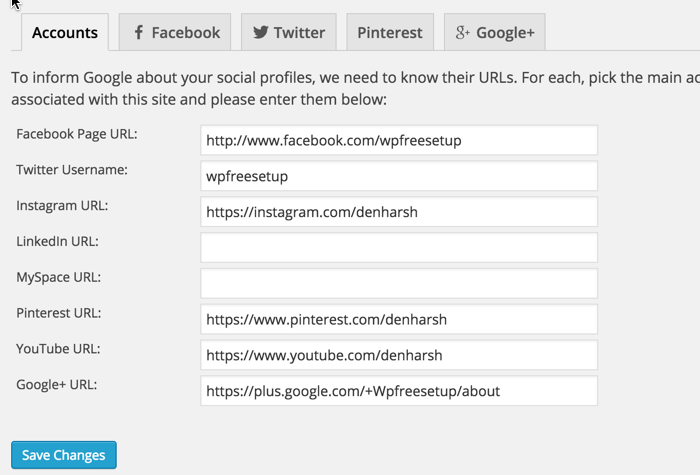
Social Settings
Here you can add all your social network ID to share your post directly to your social media account. It will save your time and it’s an automatic mode so you don’t have to do it every single time. Also, you can choose to set your featured image on facebook and twitter and you can see the live preview in it on how it would look on your facebook and twitter page.
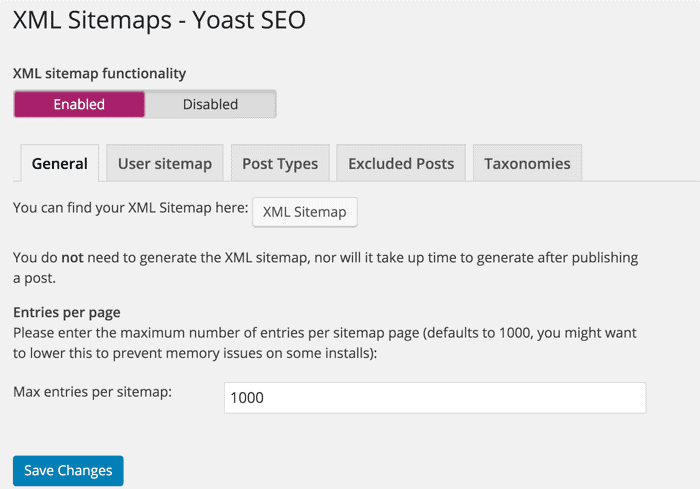
XML Sitemaps
The XML sitemap is important to get featured on google or any other search engine. You don’t need to worry about it anymore here as Yoast SEO will take care of everything on XML sitemap.
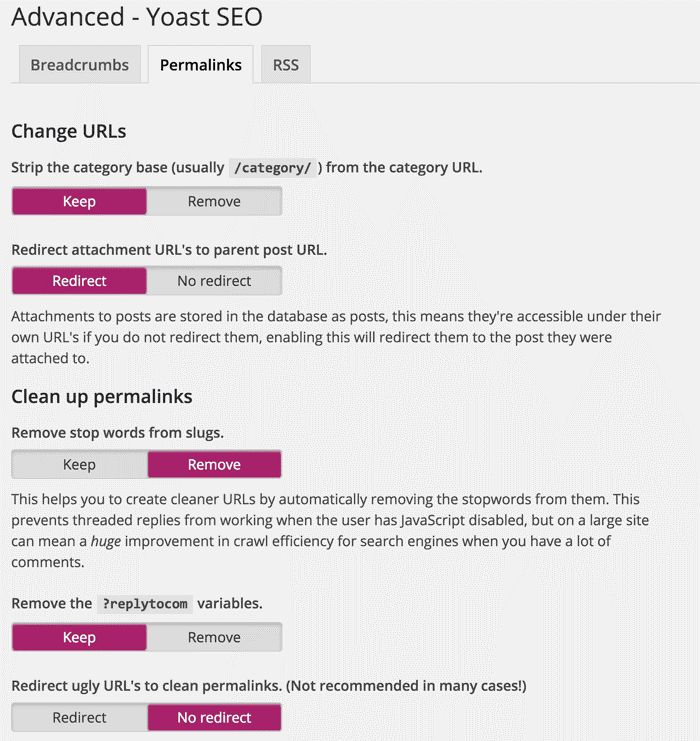
Permalinks
You can reach to this setting by Advanced > Permalinks. You can set your preference as for how your website URL should look. When you put it into any category and remove stop words or stop using ugly URL. You can use this feature and do all that.
RSS
This part integrates the feature of the RSS footer plugin. When using it, you can add a link back to the original article in RSS feeds. You can also use it to add advertisements to your RSS feeds.

Interlinking
Its one of the best feature in the Yoast SEO as it will help you find the related article which you can interlink to your post. Once you write the full post, from your keyword they would suggest you which of the post you can interlink.
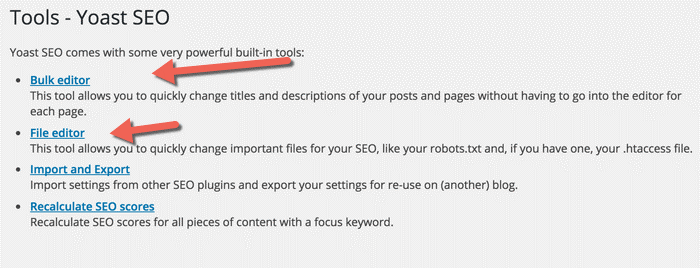
Edit Files
This is another useful feature of the WordPress SEO by Yoast plugin. You can edit the WordPress .htaccess and robots.txt file from the dashboard.
All of this and many features are available in the Yeast SEO. You can check that out when you install the Yoast SEO.
We hope this article would help you set up Yoast SEO Plugin. If you have any more question, do let us know in the comments.
Related Articles: